Notice : Following contents of installation instruction are written, drawn and shot by www.focusingscreen.com ,and it's copyrighted by Focusing House. Welcome to browse on line and you are "NOT" permitted to copy the pictures and contents for making other uses
CANON EOS 500D/Kiss X3/ Rebel T1i Focusing Screen Installation Instruction
~~Please prepare~~
1.Please prepare we send to your focusing screen and the accessories
2.Tweezers
3.The sweeps tool
~~Install procedure ~~
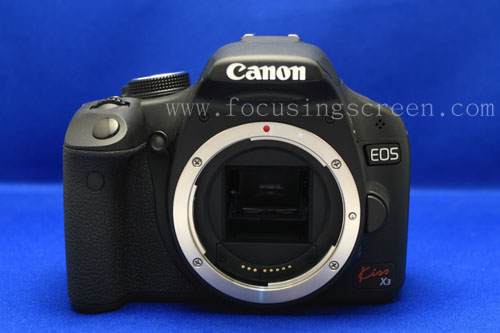
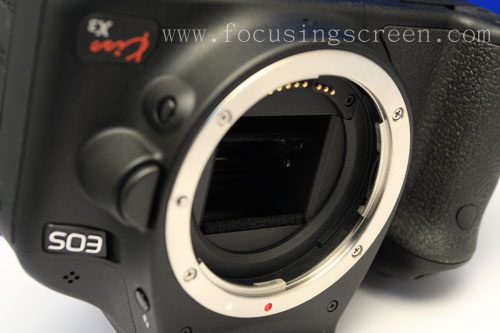
<P1>This is Canon EOS 500D/Kiss X3/ Rebel T1i camera.

<P2>Please reverse and Standing this camera.

<P3>Please watch for position of seeing the foam
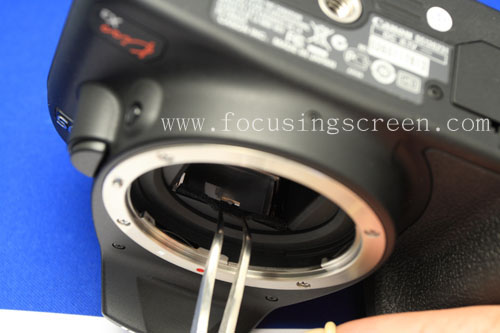
<P4> Angled the foam with the Tweezers can see an eyelet.

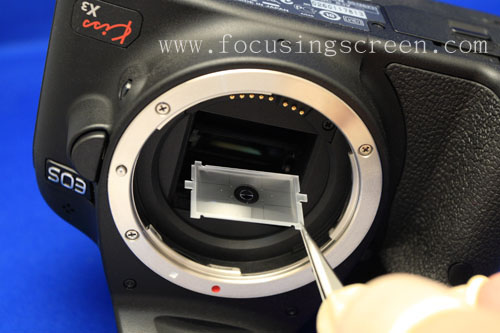
<P5>Please take out "Tweezers" in the packing and make use of Tweezers point into the eyelet of switch and "press downward first " "push inside after" can open the spring lock .
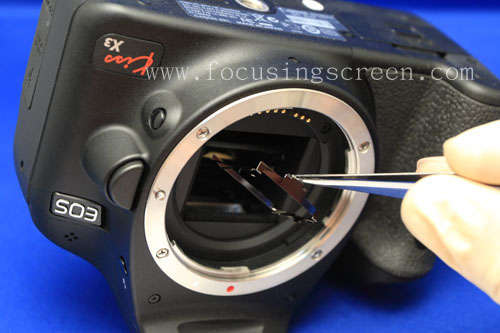
<P6> Please take out the spring lock be careful, don't harm mirror and clip the original focusing screen edge and take out of the camera.
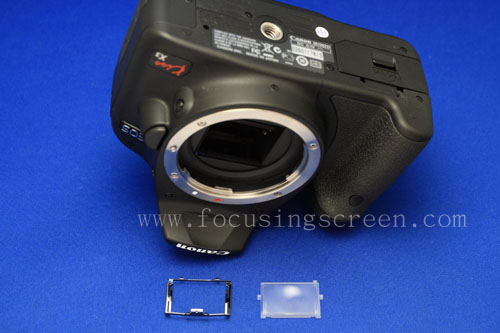
<P7>This is the spare parts(1.Spring lock 2.focusing screen) for taking out.
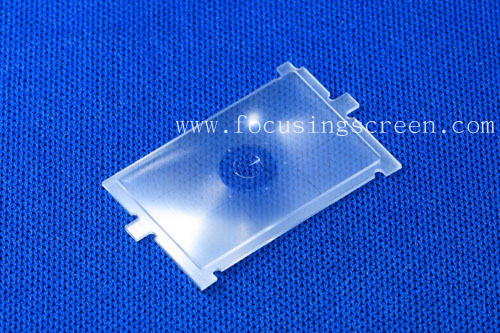
<P8> The example which changes is Canon 500D FSB focusing screen (GRID)
<P9> Please clip the focusing screen edge and put the inside of the camera.
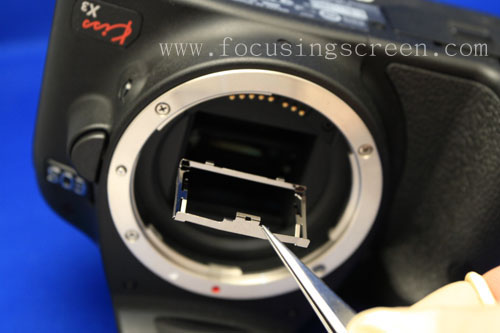
<P10> Putting the spring slice returns.

<P11> Attach the spring slice.
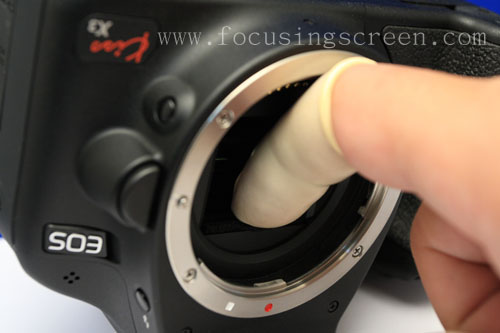
<P12>You can use Tweezers or use a thumb operation can be also,use thumb to lock please put on the "fingerstall" (Fingerstall in the focusingscreen accessories box )
<P13>Operate carefully until it locks in place.
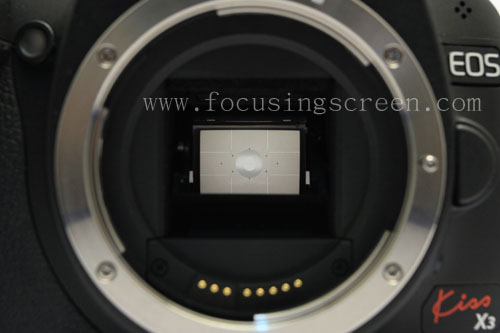
<P14> The focusing screen already install completion

<P15>This is the focusing screen that the viewfinder window sees
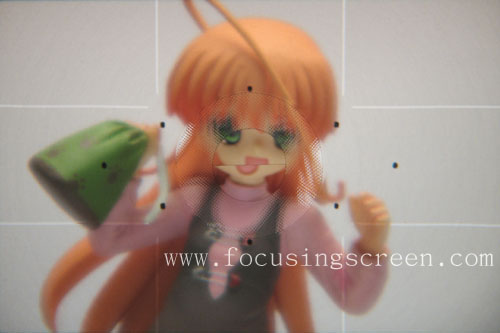
<P16>This is the appearance which didn't focus.(24-70/2.8)
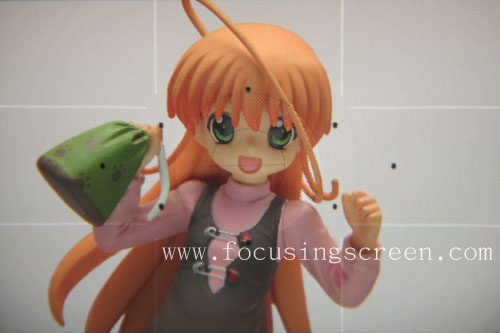
<P17>This is the focus appearance.
PS:
<P15> ~ < P17 >Picture is use DC shooting the 500D viewfinder window.
Canon EOS 500D camera change focusing screen will not influence Auto Focus. ---> 500D AF dots explain
2009/06/03